Tricks and tips to help avoid DIY disaster
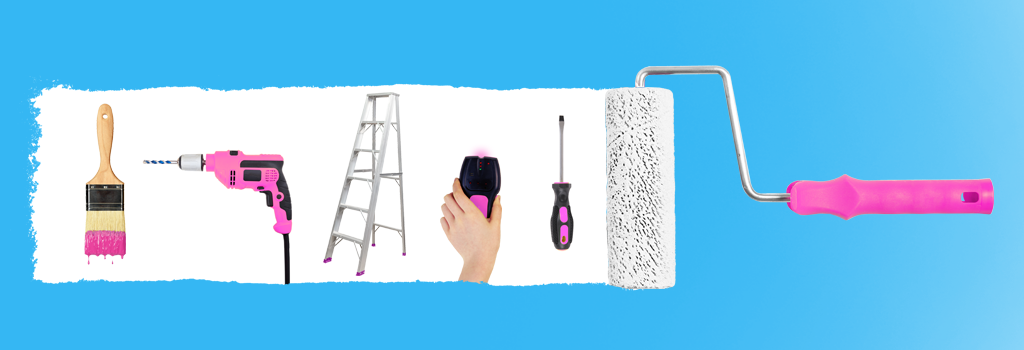
As the bank holiday season is upon us, you might be tempted to turn your hand to a spot of home improvement. Even if you’re a practised pro, no DIY is totally risk-free - so before you dust off your drill-bits here’s some tips, tricks and things to consider to help you spruce up your surroundings, safely and smartly…
Prepare, prepare, prepare
OK, we’re starting with an obvious one but “measure twice; cut once” is a DIY master’s mantra for good reason. We all know the most satisfying bit of DIY is slapping on a new colour or adding the finishing touches. But a lot of DIY disasters come from rushing to get to the Big Moment. Double-check measurements, get the right tools and equipment in place, prep walls before painting… Taking time before jumping in will not only get you a better result, but means you're more likely to avoid spending time correcting any mistakes you might make. It’s also important to protect the area, covering furniture and floors, so your little spruce-up doesn’t turn into a big costly clean-up!
With ladders, 3 is the Magic Number
Did you know that your lovely ladder is actually one of the most dangerous pieces of DIY equipment? To use a ladder safely you need to make sure you have at least three points of contact with it at all times (by which we don’t mean phone, email and TikTok profile). We mean two hands and at least one foot, or at least one hand and two feet. Speaking of ladders…

Think: on your feet
Forget a ladder in your tights, did you know that your funky old footwear could help you avoid a ladder in the plasterwork? Before you walk those old trainers to the charity shop, why not give them a second lease of life as ladder bumpers? Simply attach them to the top feet of your ladder to add extra grip, stop wall scratches, avoid sliding… not to mention making your ladder look way trendier!
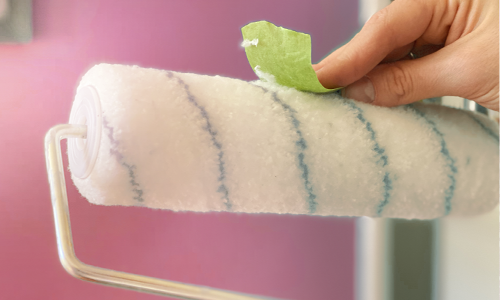
Know how to rock a roller
Prepping your paint rollers is key to a carefree coating. Even fresh ones benefit from a quick de-fuzzing (easily achieved by rolling some tape over them), and some pre-paint moisture (run warm water over your hand, then brush lightly onto the roller). Check used rollers for dried paint clumps and carefully cut them away.
Avoid rushes through brushes
You can wrap wet brushes tightly in a reusable sandwich bag between coats or overnight, but to prolong the life of your brushes and keep them painting perfectly, make sure they’re properly cleaned between jobs. As well as solvents for oil-based paints, or good old tap water for water-based paints, soaking in fabric softener or white spirit will keep your brushes really clean, as will soaking in vinegar …even if the smell does mean you might end up in the mood for (well-deserved) fish’n’chips afterwards.
Let it breathe
Paints can give off some noxious niffs, which can irritate the eyes and throat, and can even make you feel lightheaded – not great news if you’re heading up a ladder with a paintbrush. So be sure to have windows open and a through-draft wherever possible, and if you do feel at all dizzy, make sure you take a break and get some fresh air. Or even better, you could use a water based paint instead - safer for you and better for the environment too!
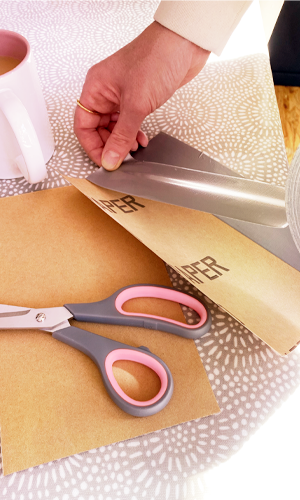
Be a paper taper!
As hardy as sandpaper is, it’s still prone to its fair share of wear’n’tear. Sticking a little masking or duct tape onto the back of it will make it last much longer. Or, to put it another way: “take the rough with the smooth… and add the sticky”.
A covered blade avoids first aid
When rummaging through your tool box, to avoid accidentally cutting yourself on sharp or serrated tools like saws, a simple solution is to cut a length of garden hose to suit, then carefully make a cut along it lengthwise and slide on to cover any exposed blades.
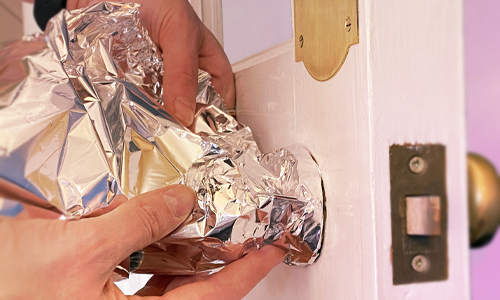
Don’t be a handle vandal
Tin foil isn't just for Sunday roasts or makeshift anti-UFO conspiracy headwear - it can also give your door handles valuable protection when painting doors. It’s much easier to loosen handles slightly, then wrap foil neatly around them than to use a hundred torn scraps of masking tape. Of course, it’s best to remove the handle entirely, but if time is against you, using foil will let you start splashing, safe in the knowledge that your painting plans won’t be ‘foiled’!
Didn’t watch that paint dry?
If you’ve missed a drip and now have a dry lump of paint on show, then a careful blast from a hairdryer to heat the surface of the paint drop will make it much easier to scrape off. Allow the area to cool properly before sanding and reapplying a thin coat of paint.
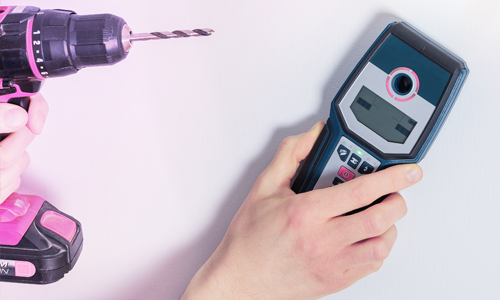
Know what lies beneath
You may be surprised how many trigger-happy drillers go straight into their walls without checking for water pipes or electric cables first. With multifunction stud finders (which can detect wooden studs, electric cables and metal pipes) retailing for around £15-20, it’s a small investment which could save you a much more costly - and potentially dangerous - mistake! So before you hammer, drill, or even poke too hard with a screwdriver, make sure you know what’s directly behind the wall - and never, ever drill directly above or below an electric socket or switch.
Know your DIY limits
Doing It Yourself can be satisfying and money-saving, but sometimes Getting Someone Else To Do It can be the wiser choice. It’s crucial to be sure the job you’re undertaking is within your capabilities, as a quick and ‘cheap’ job could wind up spiralling into extra costs if not done properly.
Our Accidental Damage cover is something you might want to add on to your standard policy to help out if something beyond your control goes wrong. If you’re taking on something more demanding than a lick of paint, your nerves (and your cover) could have a much better chance of staying intact by hiring a professional - and treating yourself to a cuppa instead!
Now that you’ve hopefully added a few new tricks to your toolbox, you should be ready to tackle your tasks smartly and more safely! Always remember to check your home cover before taking on any major renovations and DIY jobs as they may not be covered, and ensure that any contractors have their own insurance for the work they’re carrying out. Get in touch if you’re unsure; we’re always happy to help.

How you can make sure your home stays covered
Find inner (surance) peace with our top tips.

Uncovering our cover
Translating the jargon-filled language of insurance